The Open VPN Appliance is a great way to quickly setup a small VPN server without any of the command line hassles. They give you a two user license for free. For home use this should be enough. Their appliance comes in an OVA format which will allow you to deploy it on ESXi very easily.
First let’s begin by downloading the appliance we are going to import to ESXi. I got the link from their main site:
https://openvpn.net/index.php/access-server/download-openvpn-as-vm/469-deploying-openvpn-access-server-from-an-ovf-template-in-vmware-esxi-environment.html


The OVA is here :
http://swupdate.openvpn.org/as/OpenVPN-AS-Appliance-2.0.12.ova
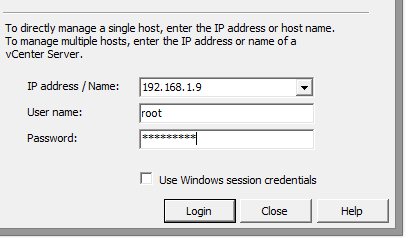
Once the download is complete login to your ESXi host.

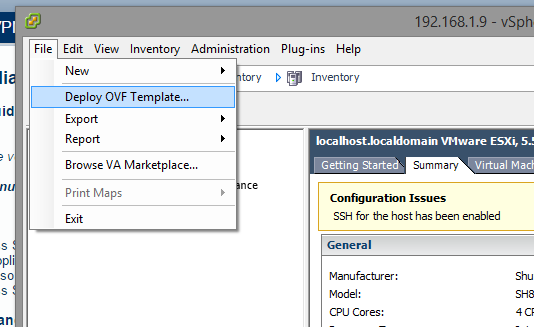
Then on the top left corner open up File > and click Deploy OVF Template.

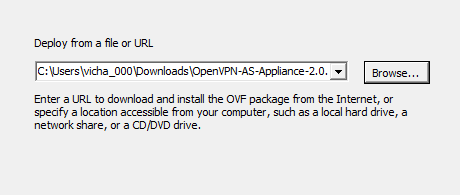
Then browse to where you downloaded the OVA file.

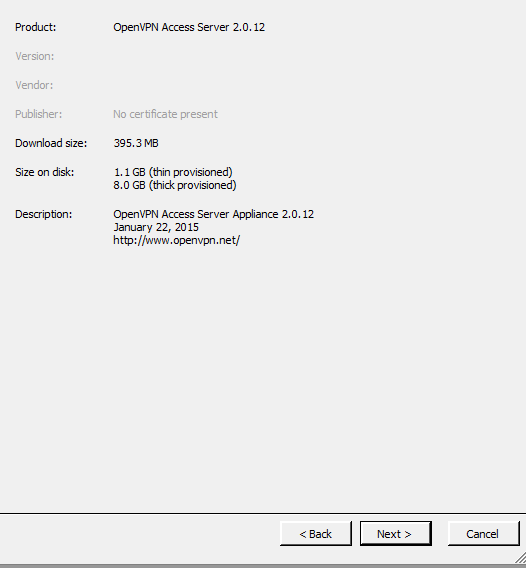
Click next on this screen it’s just an overview.

Name it something of course.


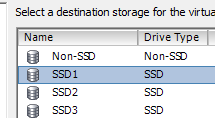
Choose your storage…

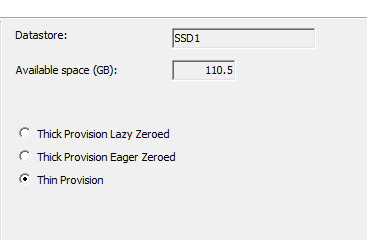
Choose how you’d like to store it, it’s usually best case to use Thin Provision because it will save you a lot of disk space. More on this in another article.

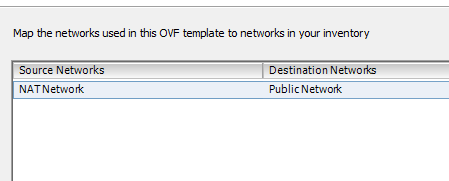
Leave the defaults here.

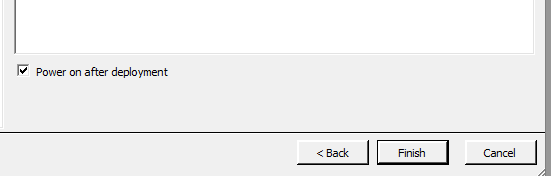
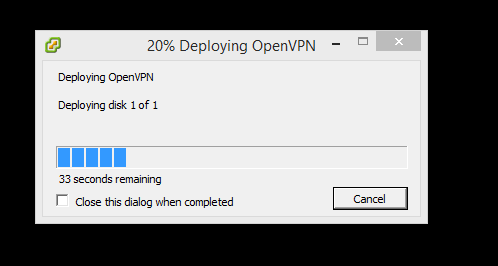
Power it on and deploy.

Deploying from network may take anywhere from 20 seconds to 2 minutes depending on your LAN speed.

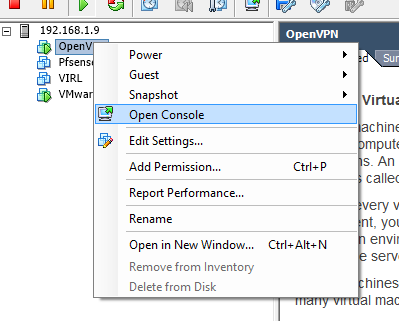
Once powered on right click the VM and choose open console.

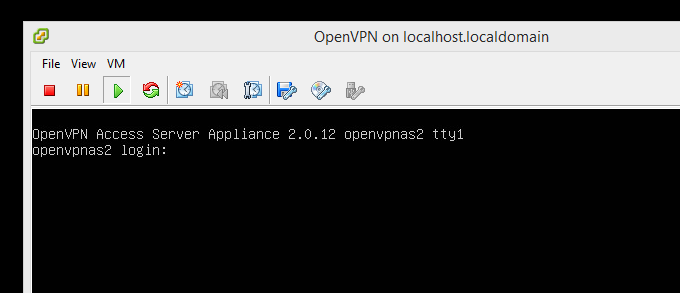
Now login here with user: root and pass : openvpnas

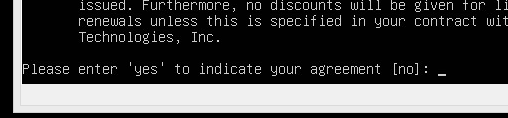
agree to their terms…

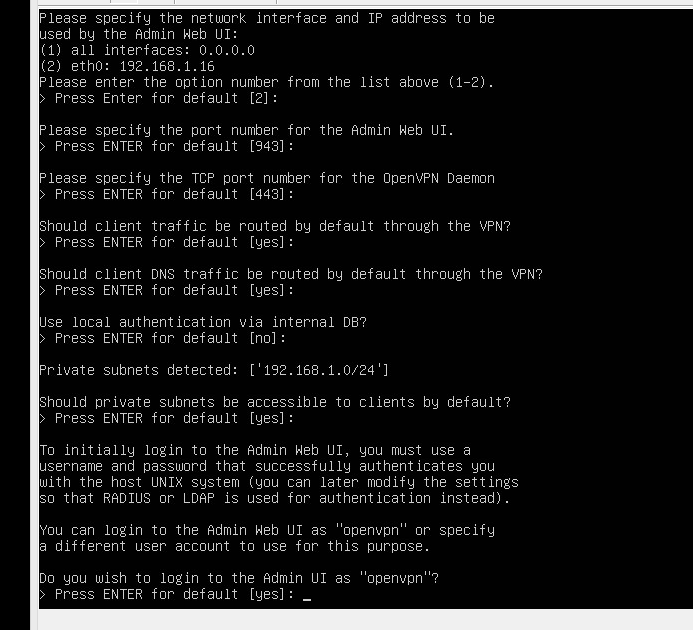
Then choose the defaults for all these options if you want the default ports to be used (443 for vpn, 943 for admin ui, access to lan, route all traffic through to lan, route dns traffic through lan.
For the last option enter no and choose a different username.

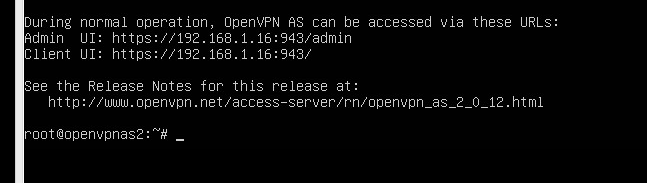
Now you’ll see something this, meaning everything is done and you should browse to the webhost to get started.
Of course your LAN IP will be different. Don’t forget the https as the host isn’t listening on port 80.

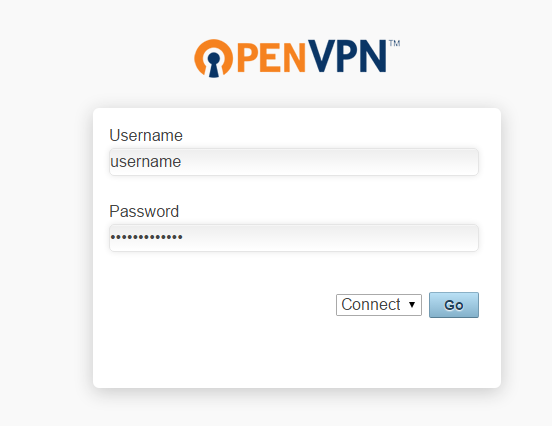
Once at the page login with the connect feature and it will allow you to download the OpenVPN client and the profile!

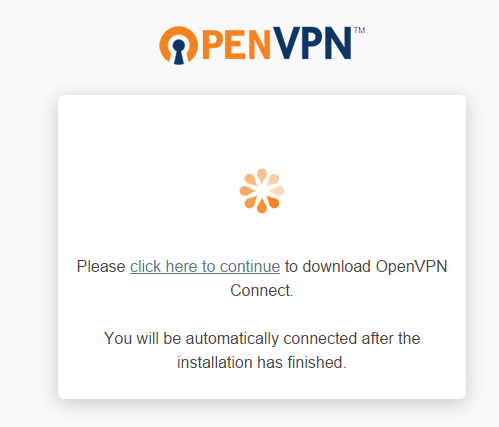

Install the client downloaded…

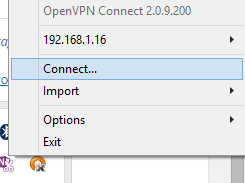
Now in your taskbar you should have the client running like so…

Other things to note:
The profile downloaded is for my LAN IP because I browsed to the LAN address (my server won’t have the webserver NAT’d because I like obscurity.
Make sure you either give the device a static IP, or assign it a DHCP reservation on your server (probably your home router). Google how to do this.
You will also need to setup your port forwarding (NAT). Since I chose the defaults I will forward 443 (external) to 443 (internal) to my LAN IP of my host.
You will want to forward UDP and TCP because the client can use both. (preferably UDP for speed).
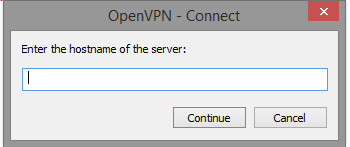
If you have a static IP then just add that in the field after pressing connect on the client here…

If you have a dynamic IP then look at a dynamic DNS client that will run on your home PC to always update your DNS hostname to the current IP. Since I have a static public IP
I create an A record for a domain I own where it’s DNS is hosted. Then I simply call it remoteaccess.<mydomain>.com this way I don’t need to remember my public IP.