Today we’ll show you exactly how to expand the storage on the Synology NAS with the Synology DX517. If the storage on your Synology NAS gets full, you can easily expand it in the future without having to replace the entire unit. Synology offers expansion units that look like NAS devices, but are specifically designed for expanding the your storage easily.
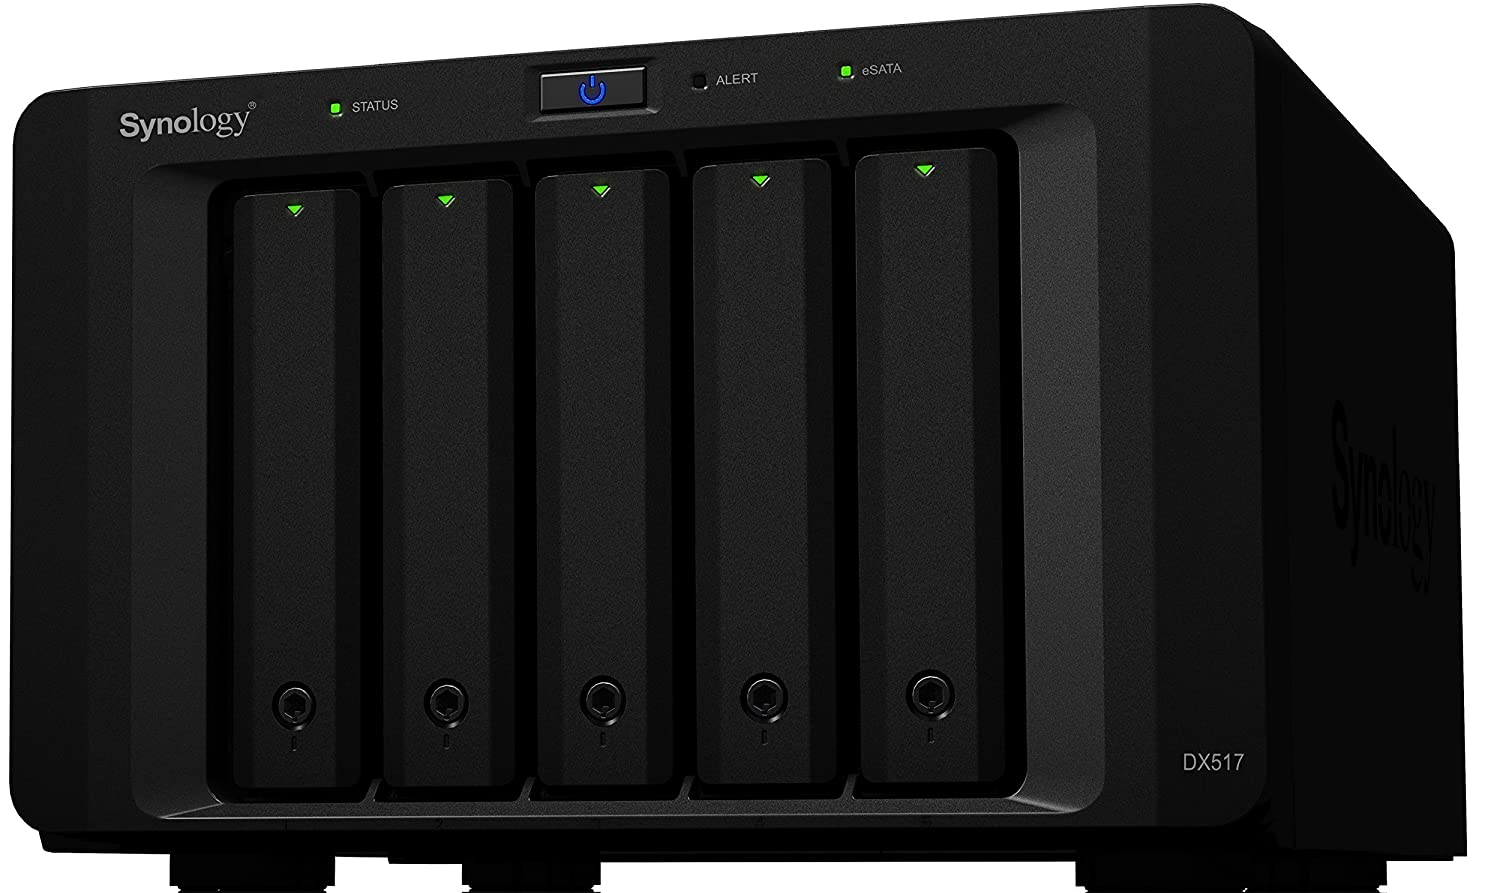
As an example, we’ll be using the Synology DS218+. There is only one unit available for expanding the storage on your DS218+, the Synology DX517. The DX517 comes with 5 drive bays, add that up to the 2 that come with the DS218+ and you are getting a total of 7 drive bays for storage across both units.


Table of Contents
The Speed Of The Synology DX517
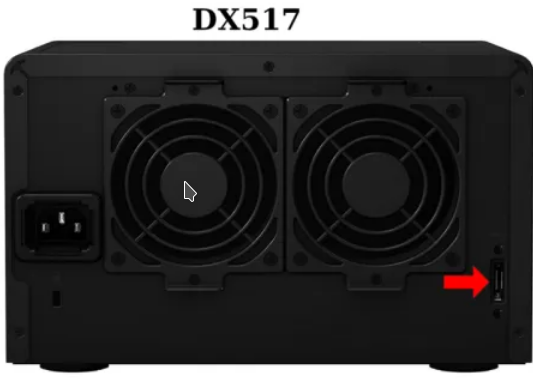
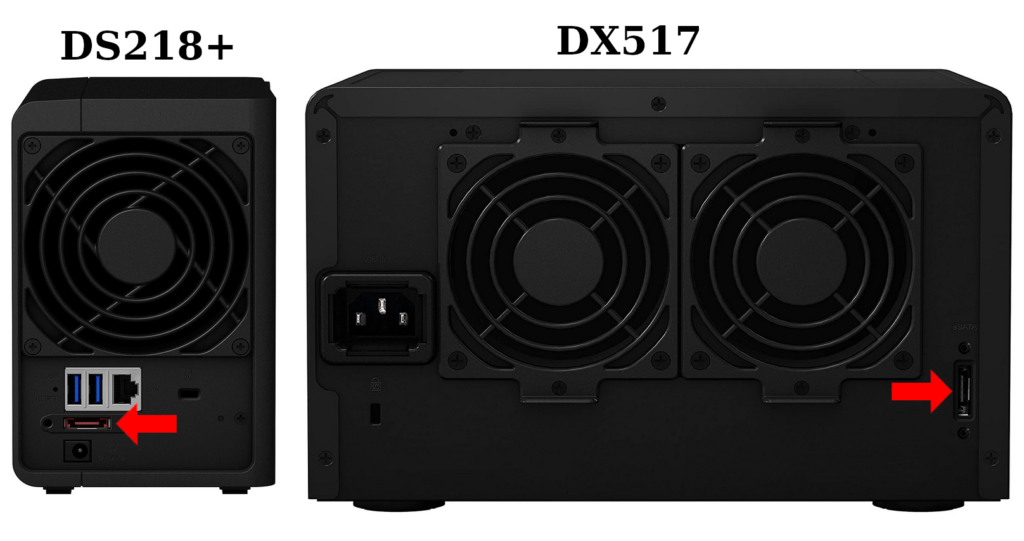
Most Synology NAS Units come with just 1 eSATA port, this connects to the DX517 eSATA port allowing up to 300 MegaBytes per second (MBps) to flow between the two storage appliances. This should be sufficient for spinning hard drives however, for SSDs, this port can easily be saturated so we don’t recommend adding SSDs to the DX517.
SSDs and eSATA Don’t Mix Well
How can SSDs saturate the eSATA port? As we’ve mentioned in other articles, SATA SSDs can push about 500 MegaBytes per second (MBps), and the eSATA port on the Synology DX517 can only do 300 MBps. Thus, we highly recommend only using the DX517 with spinning hard drives.
So how much data can spinning hard drives push through the eSATA port? The answer is it depends. It depends on the drives you select, newer ones are faster. It also depends on the RAID configuration of the drives. Since the expansion unit has 5 drive bays, you’ll most likely end up with an odd number of disks in your configuration – 7 total drive bays.
Recommended Configuration Of The Synology DX517
Most likely, you’ll actually setup a NEW volume with your Synology DX517, and manage it through your NAS. We do NOT recommend spanning your storage volume from your NAS to the expansion NAS. This is due to the fact that any disconnect between the two units will stop and break the storage volume spread across both. So again, we recommend setting up a NEW volume.
Which Raid For The Synology DX517?
Let’s continue with that example of having 5 total disks, since we’ll follow the recommendation of not spanning the volume across both units.
Again, we have 5 disks, this means RAID 1, and RAID 10 are out of the picture. You’ll have the option of doing RAID 5 or RAID 6, both of which save quite a bit of storage space however, the performance isn’t as great with RAID 5. RAID 6 is what we recommend. The performance of RAID 6 ensures it should be able to get close to the eSATA port speed, and provide 2 disk failure tolerance.
Here’s a quick recap of your options with 5 disks.
Synology RAID 5
With 5 disk in a RAID 5 you get the following:
- Write speed of 1 disk
- Read speed of 5 disks
- Ability to lose ANY 1 drive
- Most available storage of all options.
Synology RAID 6
With 5 disks in a RAID 6 you get the following:
- Write speed of 2 disks
- Read speed of 5 disks
- Ability to lose ANY 2 drives
- Less available storage than RAID 5
Now, if you choose to just install an even number of disks, then we can look at RAID 0, 1, or 10.
Synology RAID 0
With 5 disks in a RAID 0, which we never recommend, you get the following:
- Write speed of 5 disks
- Read speed of 5 disks
- All the storage of 5 disks
- Disks are combined into 1 logical volume, WITH NO REDUNDANCY
Synology RAID 1
The Max number of disks in a RAID 1 configuration is 2 disks. Thus you’d need to have multiple RAID volumes to be able to use more disks. And they must be in even numbers. If you had 4 disks, you’d have to create 2 volumes, each with 2 disks, in a RAID 1. If you did, you’d get the following.
2 disks in RAID 1 get:
- Write speed of 1 disks.
- Read speed of 2 disks.
- Storage of 1 disk.
- Can lose any 1 drive in the RAID config.
If you had 4 disks, you’d just create another RAID 1 volume, and the above pros/cons would still hold true.
Synology RAID 10
So if we did have 4 disks, RAID 10 is an option. A configuration of RAID 10 on your Synology DX517 means half of the disks storage is for mirroring (redundancy) and stripping (speed). Here”s what you get with RAID 10:
- Write speed of 2 disks.
- Read speed of 4 disks.
- Storage of 2 disks. (half of the raw storage)
- Can lose 2 drives, but they have to be 1 from each mirror group.
- Raid 10 takes two RAID 1 groups, and splits the data for speed. Thus you can lose disk 1, and disk 3 in the group. You cannot lose disk 1 and disk 2, as they contain the same information, which breaks the RAID.
How Does Expanding The Storage Work?

The Synology DX517 can be included in the redundancy (RAID) configuration, and is all setup and managed from the WEB GUI (DSM). To install the DX517 with the DS218+ follow the below steps to get it configured:

- Log into DiskStation Manager (DSM) on the NAS
- Launch the Control Panel
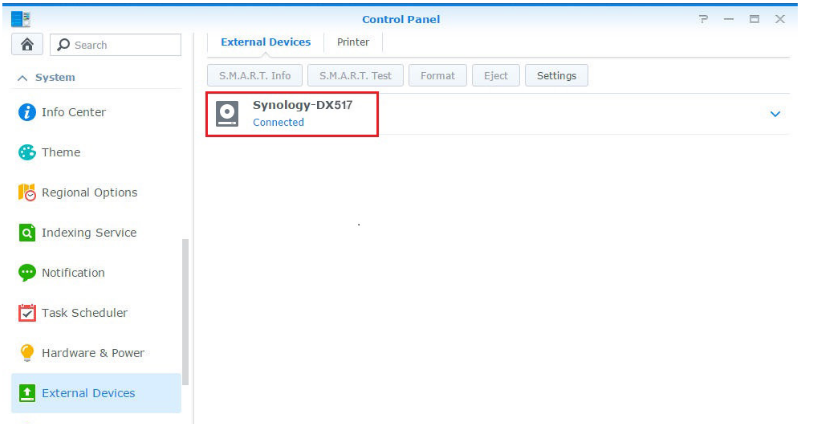
- Browse to Control Panel | External Devices | Synology DX517 should show connected
- Once you have verified that the Synology DX517 is showing up in DSM, then you can launch the Storage Manager and create a expand, or create a new volume.
We highly recommend you create a new volume instead of expanding one. We also recommend using RAID and not Synology SHR technology. The reason for recommending RAID only is because you can take the disks, and import them into another computer with the RAID still intact however, you can’t do that with SHR.
Conclusion – Expanding The Storage is Easy
That’s it, now the storage on your Synology NAS should be expanded by creating a new volume from within DSM. It’s really that easy!
If you want to purchase the DX517, see the Amazon price below.
