So you’ve found yourself in a situation where you need to change the Firepower Management Center (FMC) IP address from the CLI. This guide will quickly detail how to accomplish that.
Here’s how to do it.
Table of Contents
Step By Step Process To Change the IP Address Of Your FMC
Step 1: Log into The FMC CLI
You can either log into the FMC CLI by utilizing SSH, or, if virtual, then open the VM console. From there authenticate with your “admin” credentials, the default password is “Admin123”.


Step 2: Drop into the Linux shell
To change the IP on newer FMC versions, you’ll need to go into the Linux shell. To do this run the following command:
expert
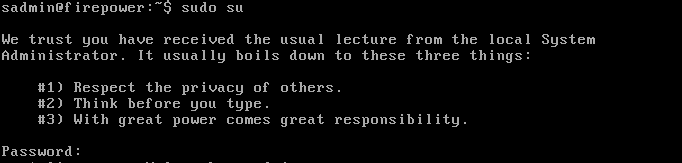
Step 3: Elevate to root privileges
Once you’re in the Linux shell your prompt will change from a “>” to a “$”. This means we don’t have root privileges. You’ll need to elevate by running the following command and typing your “admin” user password.
sudo su

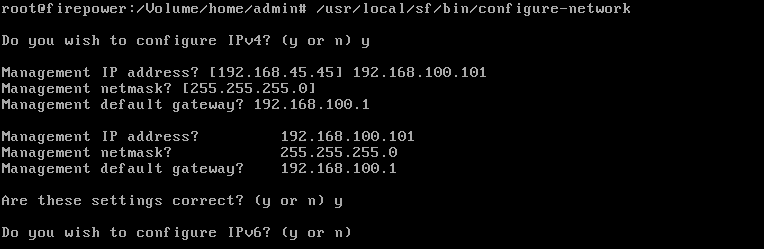
Step 4: Call the script to re-configure the FMC network settings
At this point you have the necessary privileges to run the following command and run through the network reconfiguration wizard from the CLI.
/usr/local/sf/bin/configure-network

Once you complete the wizard from the CLi you should get a message confirming everything is complete, like below:


That’s it, now try browsing to the IP address with in the message and verify the servics are up. If it doesn’t work, it may take a few minutes after the message shows up for the change to complete so come back in a few minutes and try again.