Meraki Step By Step QoS Configuration
The goal of this post is to give you a general overview of what a full QoS configuration on meraki gear consists of. There may be some tailoring you should do in your environment to have it fit better.
First let’s take care of the layer 3 part.
Voice Network:
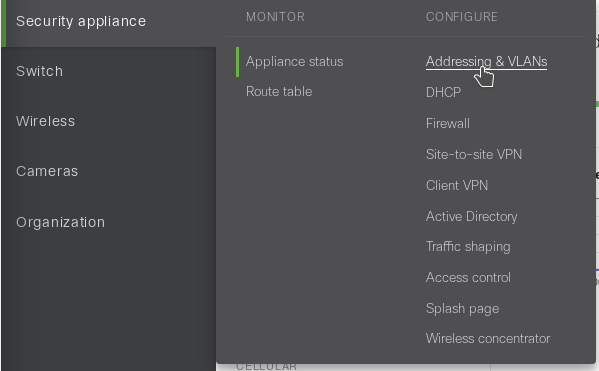
1. Go to Security Appliance | addressing and vlans

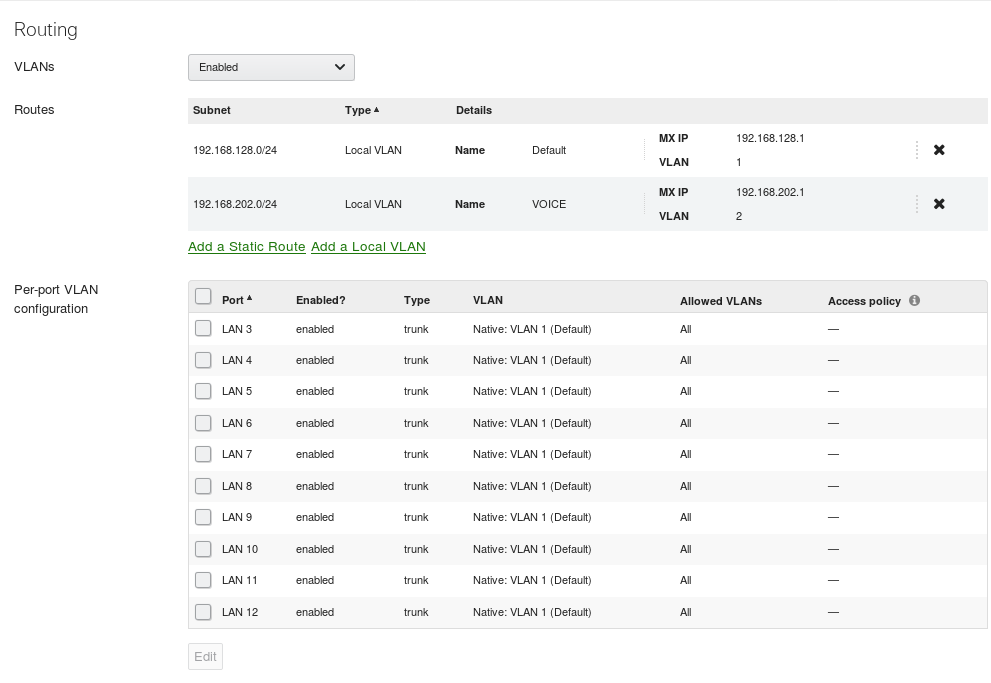
2. Add a local Vlan | name it VOICE | give it a unique network id, I choose 192.168.202.0/24 | Configure the MX gateway IP, I chose .1 | Make it VLAN 2 | Leave the ports under it as trunk and native vlan 1.

Voice Layer 3 QoS:
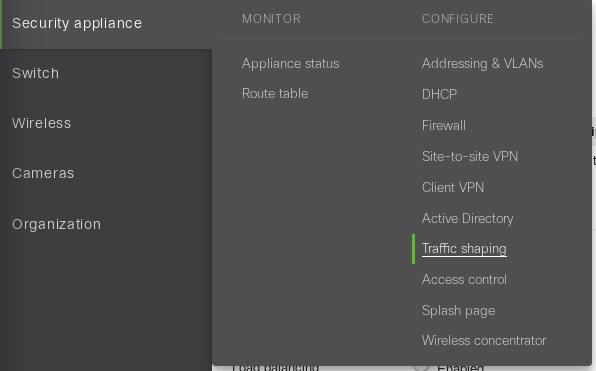
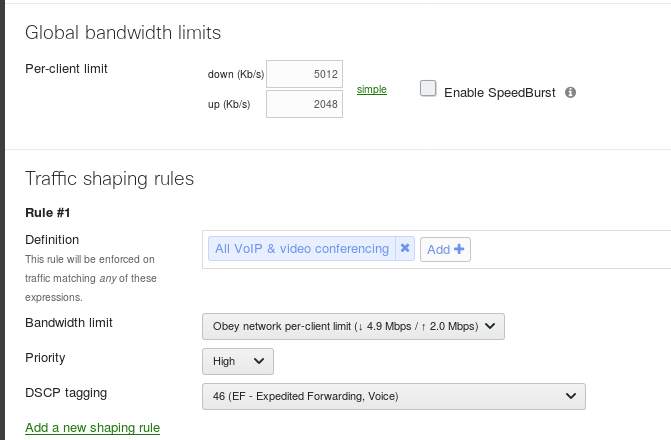
1. Go to Security Appliance | Traffic Shaping

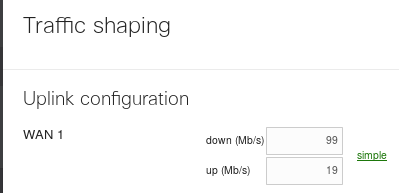
2. Configure a WAN speed as provided by your provider, choose a few Mbps lower than you are guaranteed. In my case I was getting 100Mbps down and 20 Up so I went 1 Mbps lower.

3. Set a per client limit and configure the following traffic shaping rules.Leave a per-client download limit so you don’t kill your inbound download. Also, try to be as specific as you can about the VOIP service you use. You don’t want big interactive video flows like skype for business video sharing to kill your bandwidth.
Now let’s configure the layer 2 aspect:

Voice Vlan:
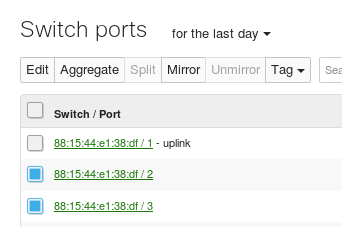
1. Go To Switch | Switch Ports | Highlight all ports and edit
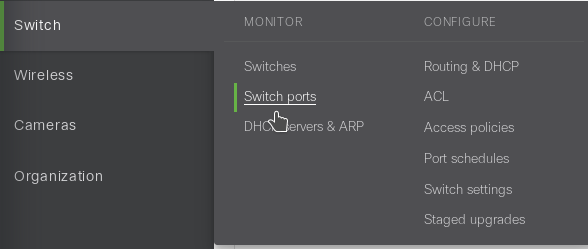

2. Highlight all ports except for the uplink and click edit

3. Set the switchport type to access, set the voice vlan to 2.
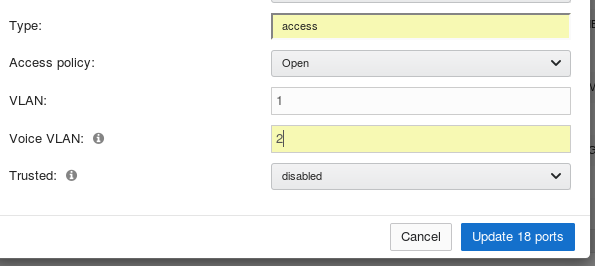

note: The above will make the switch tell phones about the voice vlan through CDP and or LLDP which automatically puts them in the proper network.
Layer 2 QoS:
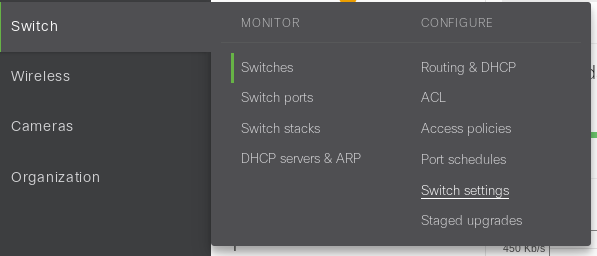
1. Head over to Switch | Switch Settings

2. Configure vlan 1 priority to be reset to 0, configure vlan 2 priority to be DSCP
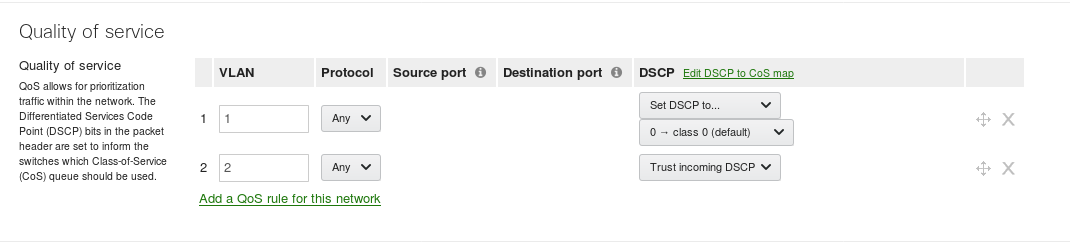
The above says trust the QoS markings from VLAN 2 ( the phones) and it says don’t trust PC QoS markings

Now your prioritization will work at layer 2 all the way up to when it leaves your MX appliance the it’s at the mercy of the WAN provider.