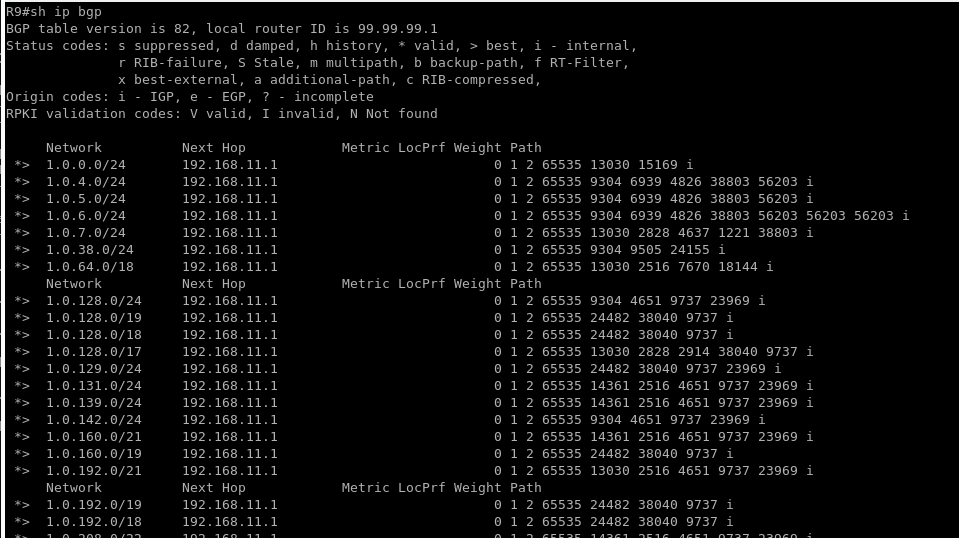
Here’s how you can inject thousands of routes into BGP with testing GNS3.
I recently discovered this blog post where someone created a Ubuntu VM that can do this. Here’s a quick tutorial on how you can get this to work in your network.
First of all, credit to the original creator!
Now for GNS3 you only need the VMDK file so I reuploaded that here to save you the trouble of extracting it:
https://upw.io/3cv/IPv4-BGP-Global-Internet-Table-VM-v1-disk1.vmdk
Here’s a link to the OVA he shared incase you ever need it https://iparchitechs-my.sharepoint.com/personal/kevin_myers_iparchitechs_com/_layouts/15/guestaccess.aspx?guestaccesstoken=8g3ek2XMd6VUwylzAOHcyfsNL8S2SQQOWpB%2ftwThtvc%3d&docid=0472f0694111e41a0bccce5f57e41a321
Here’s how to set it up in GNS3:
Step 1:
Open GNS 3 | Edit | preferences
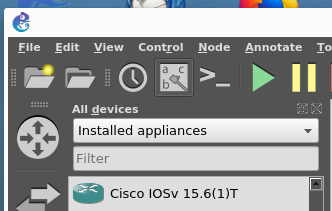
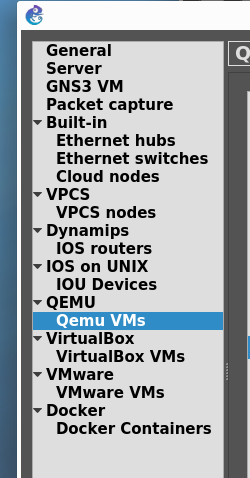
Step 2: go to QEMU VMs | New

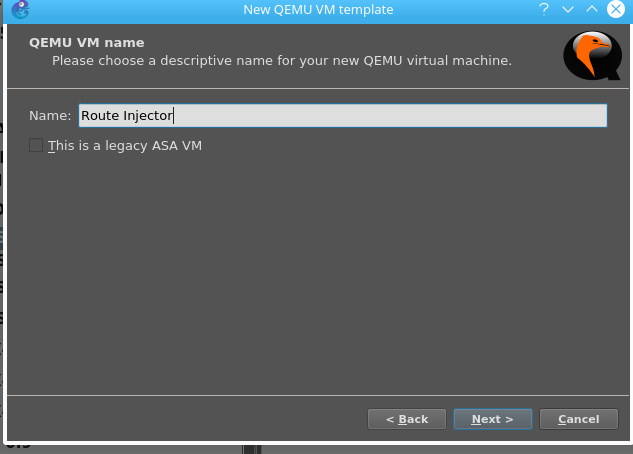
Step 3: Name it Route Injector
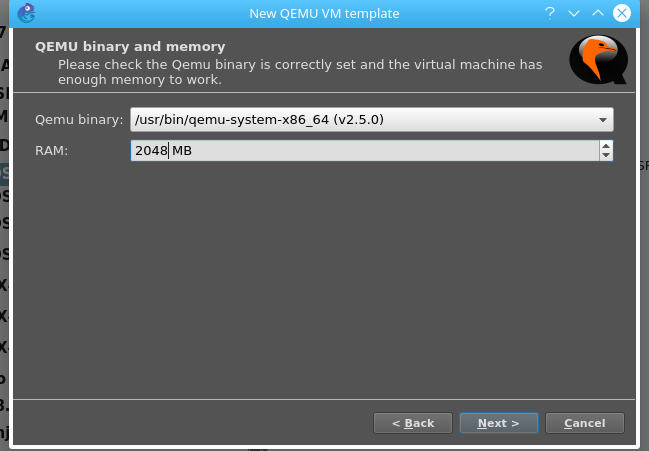
Step 4: Give the VM some ram, I did 2048MB, you might be able to get away with 1024MB
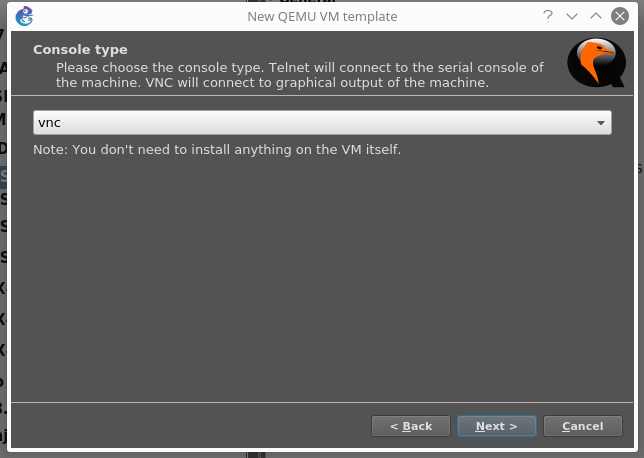
Step 5: Set the console type to VNC
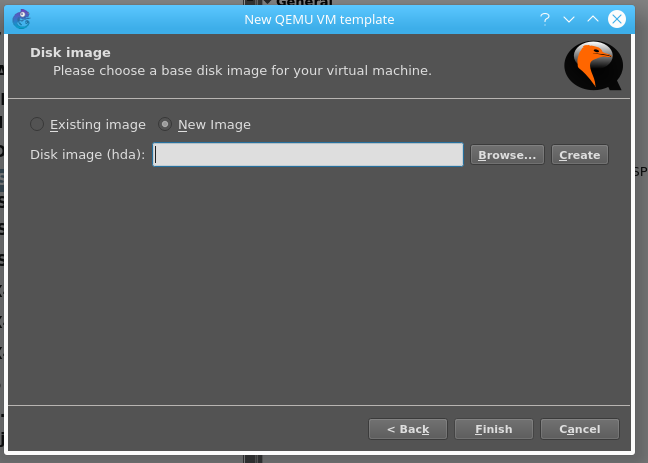
Step 6: Select New Image and supply the .VMDK file
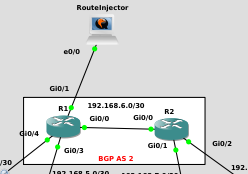
Step 7: Once complete drop the Server into a topology with a BGP speaker, right click the VM and click console
Step 8: login with bgpuser/bgpuser
Step 9: Run the following to change it’s IP
sudo nano /etc/network/interfaces

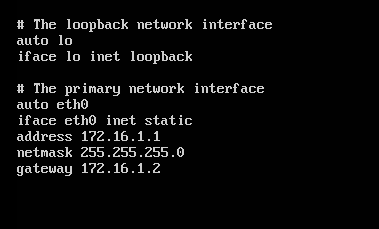
Step 10: Run the following to bring up the interface
sudo ifup eth0
Step 11: Ping your neighbor router
Step 12: Run the following to enter the folder
cd bgp
Step 13: Setup the session, the -m is how many routes you want
sudo ./bgp_simple.pl -myas 65535 -myip 172.16.1.1 -peerip 172.16.1.2 -peeras 2 -p ISP5-NorthAmerica-NewYork-Jan-2016 -m 200
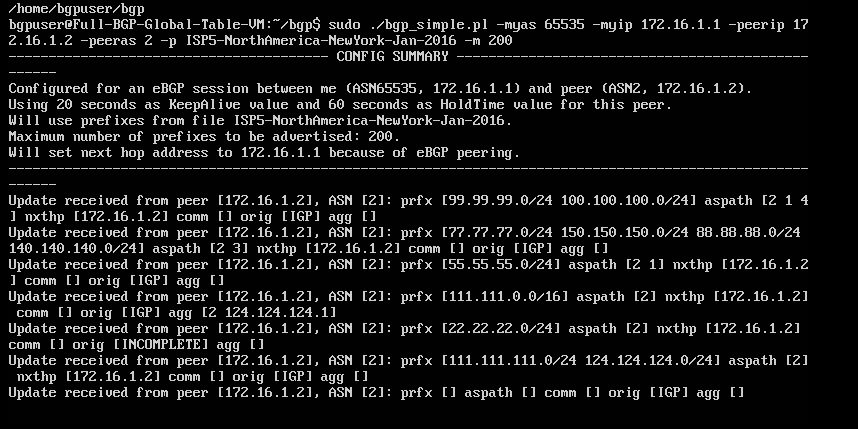
Step 14: Enjoy!