Here is a basic configuration of installing Oxidized. It will also show you how to configure oxidized to backup Cisco ASAs.
Let’s begin!
go to the working directory
cd /root/
install ruby and crap
sudo yum -y install nano cmake sqlite-devel openssl-devel libssh2-devel ruby gcc ruby-devel
install oxidized
sudo gem install oxidized
sudo gem install oxidized-script oxidized-web
run oxidized twice to generate config files
oxidized
oxidized
edit the config file
nano /root/.config/oxidized/config
contents of the config file
---
username: username
password: password
model: junos
interval: 3600
use_syslog: false
debug: false
threads: 30
timeout: 20
retries: 3
prompt: !ruby/regexp /^([\w.@-]+[#>]\s?)$/
rest: 127.0.0.1:8888
next_adds_job: false
vars: {}
groups: {}
models: {}
pid: /root/.config/oxidized/pid
input:
  default: ssh, telnet
  debug: false
  ssh:
    secure: false
output:
  default: file
  file:
    directory: /root/.config/oxidized/configs
source:
  default: csv
  csv:
    file: /root/.config/oxidized/router.db
    delimiter: !ruby/regexp /:/
    map:
      name: 0
      model: 1
      username: 2
      password: 3
    vars_map:
      enable: 4
    gpg: false
model_map:
  cisco: ios
  juniper: junos
Generate the router.db file which will house our passwords
nano /root/.config/oxidized/router.db
contents of the file
10.0.0.1:asa:admin:pass:enablepass
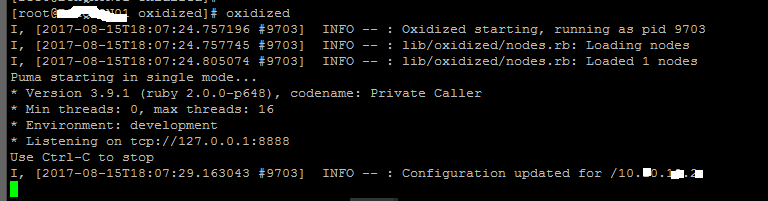
run oxidized
oxidized
You should see this
Now if you browse to the following directory we should find a file with the name of the IP, which contains the config
/root/.config/oxidized/configs/

Links I referenced when creating this guide:
https://docs.librenms.org/Extensions/Oxidized/